
3D Winter Window Card
Isn't it strange how the mere thought of Christmas cards instantly conjures up images of adorable winter animals frolicking in the snow, all while spreading festive cheer?
From playful penguins sliding on icy surfaces to fluffy bunnies bundled in tiny scarves, charming critters bring our holiday wishes to life.
They remind us that the spirit of Christmas is all about joy, warmth, and togetherness—even amidst the frosty chill.
So, as you embark on your seasonal card-making adventures, let these delightful little creatures inspire your creativity and add a sprinkle of fun to your festive greetings!
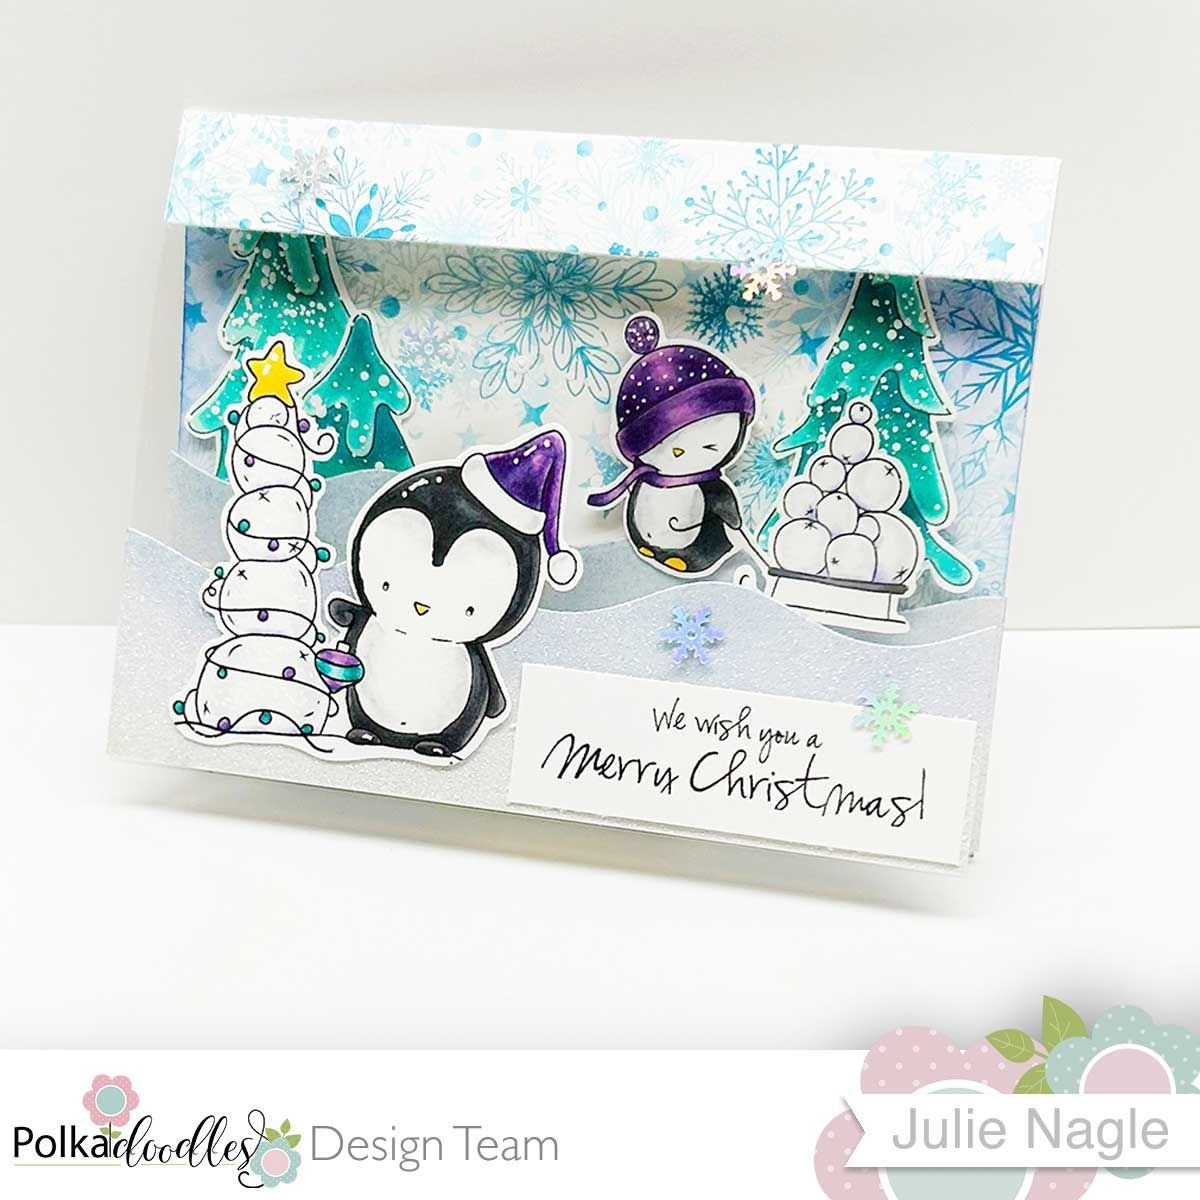
Theo & Friend certainly look like they are having fun!
In a whimsical winter wonderland, a lively troupe of penguins frolic through a sparkling, snowy landscape. With joyful chirps and flappy flippers, they gather fluffy snow to build the most imaginative snowmen/snow trees, adorned with sparkly decorations
. As they craft snowman trees, the fluffy hills in the backdrop create a perfect rolling landscape, glistening under the soft winter sun. Snowflakes dance through the air, adding to the magical ambience as laughter echoes across the hills. This snowy adventure invites you to dive into their playful world, where fun and creativity know no bounds!

Today’s design showcases 2 images of Theo the Penguin from PolkaDoodles, Snowball Tree & Snowball Sleigh. A festive scene in a snowy setting shows teamwork creating a Christmas tree made of snowballs. The card has a window on the front to peek into the snowy 3D scene with snow-covered hills and a playful snow flurry background paper, Theo Penguin Paper Bundle 4. A fun Christmas Greeting finishes off this super fun Christmas card.
To create this card:
White cardstock cut @ 5 x 5 1/2, Score at 3/4 of an inch on the 5 inch side. ( card base )
White cardstock piece cut at 2 x 1/2 - Scored @ 1/2, 1, 1 1/2 inches. (3D Mechanism)
Window sheet cut @ 4 1/4 x 5 1/2
2 pieces of glittery cardstock - 1 cut @ 1 3/4 x 5 1/2, the other cut at 2 x 5 1/2
Pattern Paper - cut @ 4 1/4 x 5 1/2, 3/4 x 5 1/2
Printed digital images listed above from Polkadoodles crafting. ( Go ahead, it’s easy!)
Instructions:
Cut and score all the pieces as outlined above.
Attach the window sheet to the underside of the little flap that is the card front of the card base. The card front is now 4 1/4 x 5 1/2. Traditional card base only the front section is window sheet.
Adhere the largest pattern paper section to the inside of the card base to create the background.
Attach the small strip of pattern paper to the small card stock section on the front of the card base.
Cut the 2 sparkly cardstock pieces with a edge die that will create the look of snowy hills or just fussy cut to achieve this look.
Attach the tallest sparkle card stock piece using foam tape to the inside of the card on top of the pattern paper.
Color images along with trees using Copic Markers, pencil crayons or the coloring tools of your choice.
Tip: You can download these images precolored, in case you don’t like to color.
Adhere the trees and snowman with sled of snowballs to these hills of snow in desired placement. Using foam tape to attach the penguin image to give him added dimension in the scene and leaving the trees flat against the pattern paper.
Add a piece of tear and tape to the first section of the 3D mechanism - the mechanism by the way looks like a “W”. Attach the back of the “W” to the bottom edge of the first layer of hills on the card inside. Then just leave the mechanism for now.
Add the smallest section of sparkle cardstock to the front of the window sheet section ( or card front ).
Adhere the penguin image overtop the sparkly cardstock piece ( snowy hills ) using foam tape.
Cut the greeting down to the desired measurement and adhere this to the card front using glue to be sure it sticks on that sparkle cardstock.
Add tear and tape to the remaining side of the “W” mechanism, close up the mechanism and fold down the card front closed. So the card is closing over top of the tear and tape on the “W” mechanism. Press & hold for a few seconds to be sure the mechanism is well adhered.
Add some snowflake sequins & glittery gems just to add extra special wintery charm.

When you let it go… you have a card with layers of snowy dimension and fun, that stands nicely for display!
Yet still folds flat for mailing. Due to foam tape and layers you may have to pay a little extra postage, however I think it’s worth it!
I absolutely love this card - it can be used for so many scenes with so many different stamped or digital images! Let me know if you have any questions about the card in the comments below.