
Creating a Card with the SBC Fest - Build a Bouquet Bundle
This build a bouquet is one of the bundles offered recently for SBC Fest at Scrapbook.com. The classes that went with SBF were fabulous and full of tips and techniques, and are still available to watch.
Also, most of the bundles of products from SBF are still available as well.
I grabbed the floral bundle by Laura previous to the start of SBC Fest, and it has so many fun products. There was a beautiful floral paper pad, a stamp set and coordinating dies, The build a bouquet die set, and Grow with the Flow die set - all for a very cheap bundled price! I absolutely love everything included. Totally feel like I got my monies worth with that purchase.
So, moving onto the card…

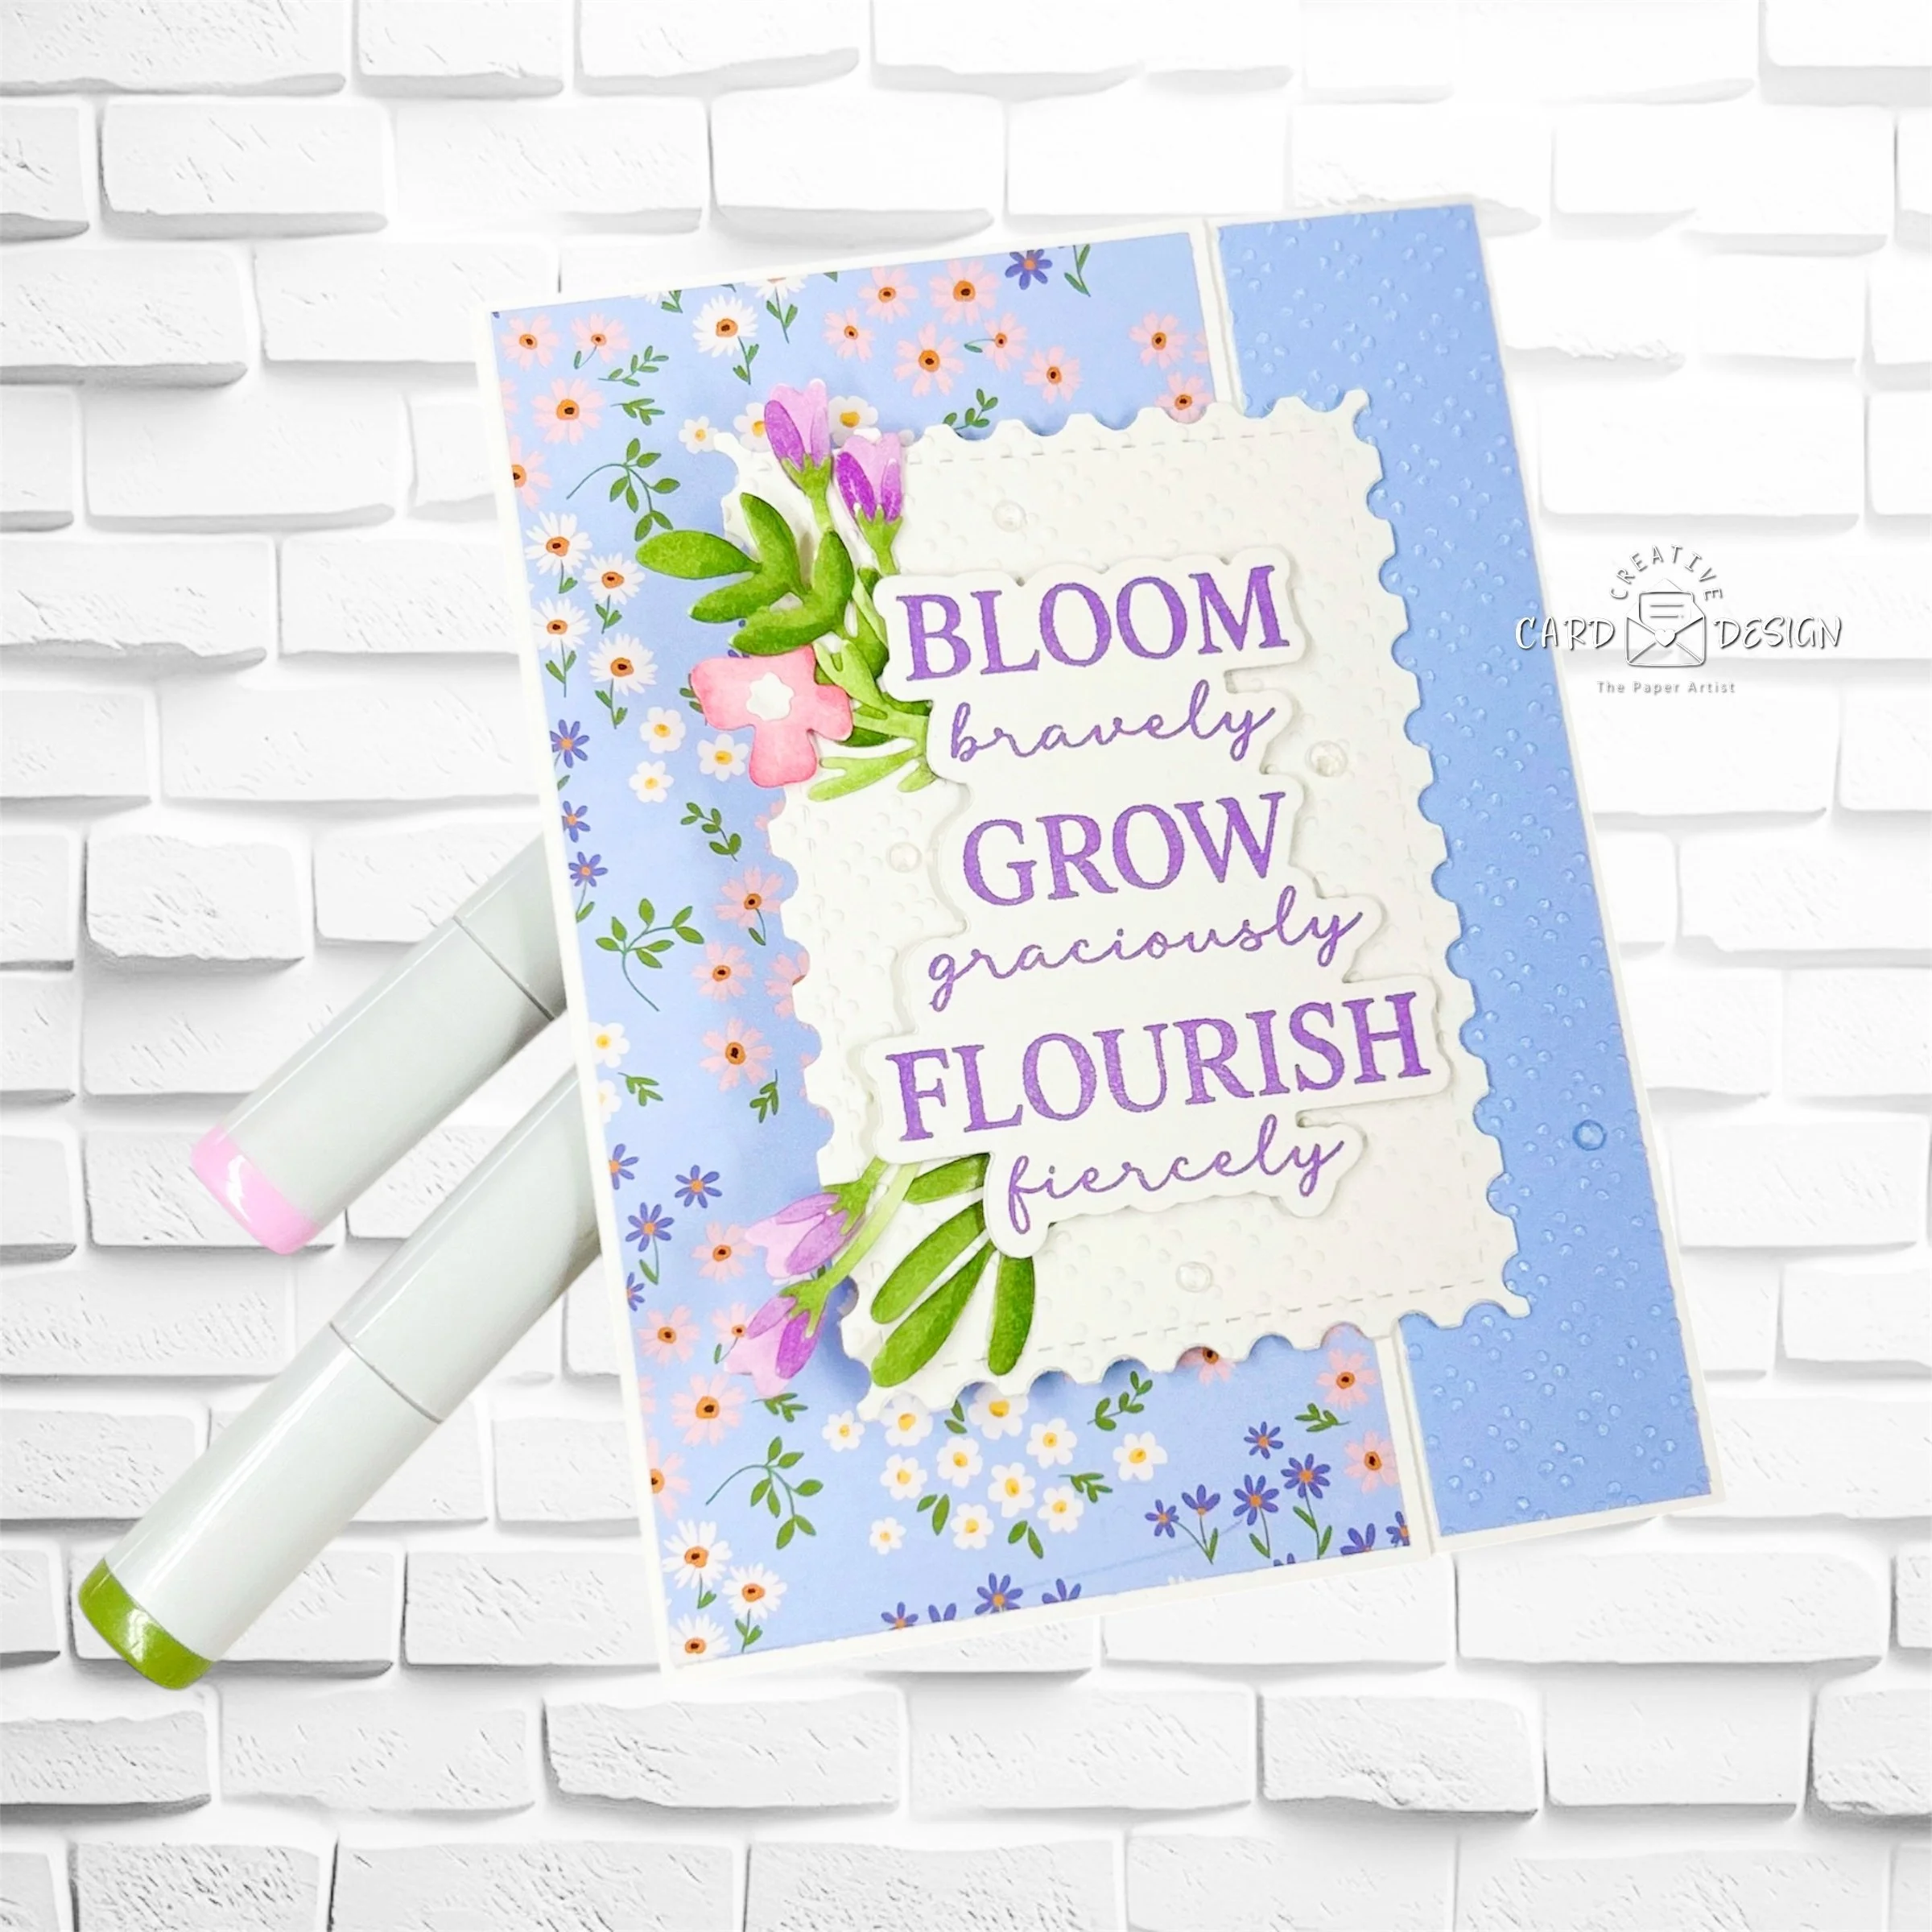
Looks like your average beautiful card - but it’s not!
This card has a hinged type opening which makes for a super fun card for the recipient. The layout is quick and easy to create, allowing you to add a fun little opening to your cards.
Best of all - you don’t need the above products to create a card like this. Though I think the Build a Bouquet Bundled set was fabulous, this card can be made with pretty much any stamps or dies that you already have in your stash.
Maybe you have a cute little scruffy dog, or some fun fruity watermelon’s - try the different products you have! Then be sure to share them with me > you can send your project photos here

Here are all of the fabulous products included in this bundle! Check it out! The price for all of this is amazing!

THE LINKS IN THIS POST CONTAIN AFFILIATE LINKS - WHICH MEANS THAT IF YOU CHOOSE TO PURCHASE A PRODUCT FROM ONE OF THESE LINKS THAT I WILL MAKE A SMALL COMMISION. THIS DOESN'T COST YOU ANY EXTRA TO PURCHASE. THE SMALL COMMISION HELPS ME TO CONTINUE TO SHARE CARD IDEAS AND EXAMPLES WITH YOU. HEARTFELT THANKS FOR YOUR SUPPORT.To Create this card:
You will start with a card base cut at 8 1/2 x 5 1/2, Scored @4 1/4.
Next: Score at 1 1/4 inches on the right side of the card base.
On the left side of the card base cut off 1 1/4 inches.
Pattern Paper Measurements:
The pattern papers I used were all from the Bouquet Pattern Collection above.
Paper 1 (blue) - 1 1/8 x 5 3/8. Emboss this strip with your favorite embossing folder.
Paper 2 (blue) - 2 7/8 x 5 3/8
Paper 3 (blue floral) - 2 7/8 x 5 3/8
You will also need:
Rectangle Die (or cut one) - scallop die, postage die, any type of rectangular shape you have that measures approximately 2 3/4 x 3 3/4. * Doesn’t have to be exact, just close.
Assembly:
Adhere the pattern paper sections to the coordinating spaces on the card base.
The floral layer goes on the front of the card, the blue on the inside of the card.

Your card base will actually look like this. So that score line on the end of the card base should be burnished towards the back of the card base.
Creating the rest of the card using the Build a Bouquet Bundle:
The large Bloom Bravely greeting was stamped and cut out with the coordinating die cut, as well as a second die cut just to create stability. These were adhered together and attach using foam tape to the scalloped rectangle die cut. I also embossed the rectangle die cut for a little added dimension to the card front.
I cut the desired flower pieces from Build a Bouquet Die set using white cardstock, and then proceeded to color the pieces with markers. You could also use color cardstock for this, I just liked the softer color of coloring them with markers. Nothing fancy, they were super easy to color.
Once the pieces were colored I simply used liquid glue to adhere the blossoms to the stems. It looks tedious, but it really isn’t. They go together really quickly.
I gather a few of the flowers and leaf stems and created 2 bouquets. It’s so much fun when you get to arrange your own flowers!!
I adhered one bouquet tucked behind at the top of the sentiment, and the other coming out from the bottom of the sentiment.
I stamped “just for you” on the inside blue panel.
The sentiment rectangle then gets placed onto the card gluing only the backside of the rectangle that will sit on the small strip section of the card base. So just a strip of tear and tape down the backside of the rectangle and adhere to the small embossed strip.
Lastly I added a few clear rhinestone gems to add a little sparkle to the card front.
Let me know if you decide to create this card in the comments below, or better yet be sure to send me a photo (link is above) - I’d love to see what you create!